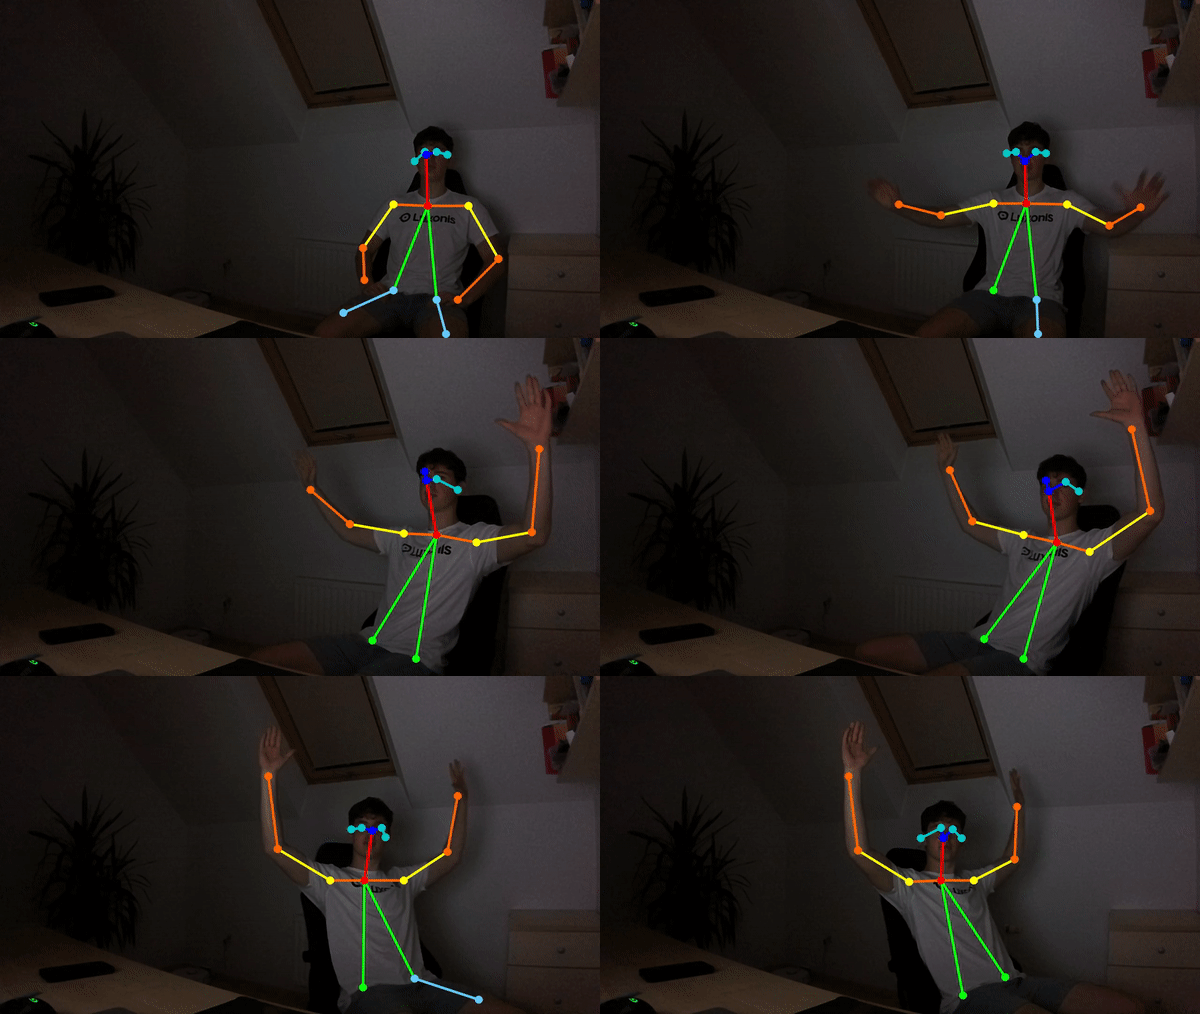
Roboflow with OAKD-Lite
We used our class docker image to develop our initial Roboflow code.
Within our docker container, we have to ensure the X11 forwarding is set up. Once set up, we can proceed to give permissions to the OAKD-lite camera. This can be done by running these commands within both Jetson Nano and inside our docker container.
export OPENBLAS_CORETYPE=ARMV8" >> ~/.bashrc
echo 'SUBSYSTEM=="usb", ATTRS{idVendor}=="03e7", MODE="0666"' | sudo tee /etc/udev/rules.d/80-movidius.rules
We can then install depthai with the following commands below.
RUN git clone https://github.com/luxonis/depthai.git && \
    git clone https://github.com/luxonis/depthai-python.git && \
    cd depthai && \
    source ${VIRTUAL_ENV}/donkey/bin/activate && \
    curl -fL https://docs.luxonis.com/install_dependencies.sh | bash && \
    python3 install_requirements.py && \
    cd ../depthai-python/examples && \
    python3 install_requirements.py
Once done, we can simply run the test model within /depthai-python/examples:
python3 human_pose.py
The source code is only 6 lines of code.
from depthai_sdk import OakCamera

with OakCamera() as oak:
  color = oak.create_camera('color')
  # List of models that are supported out-of-the-box by the SDK:
  # https://docs.luxonis.com/projects/sdk/en/latest/features/ai_models/#sdk-supported-models
  human_pose_nn = oak.create_nn('human-pose-estimation-0001', color)

  oak.visualize(human_pose_nn)
  oak.start(blocking=True)
We can then get this demo.
